
Thighs again? Yes, dammmit. Thighs again! If you can’t tell by now that we are thigh lovers, then you haven’t been paying attention. There’s nothing more succulent, flavorful, and satisfying than a fat juicy thigh with skin rendered so crisp, it shatters in your mouth. Perfection! These gingery-garlic soy braised chicken thighs are pretty dang tasty. The sauce? Oh man! It’s just so good. We served this over some fluffy jasmine rice alongside some sautéed snow peas and carrots, and it was the perfect meal. It gave us that “take out” feel without the gross take-out taste. It was fresh, juicy, flavorful, and it hit every note our palates were begging for. Sweet, salty, savory, tangy, bold, fatty, juicy, crispy, soft…I could go on.
Why braise with dark meat?
Because dark meat (thighs and legs) has enough juicy fat to prevent it from drying out even if its just slightly overcooked. White meat isn’t as forgiving, nor as flavorful. But that’s not a diss against white meat, I love a good chicken boob from time to time. I think of white meat as a blank slate — you can brine or marinate it and have it taste like basically anything. However, I would never advocate braising it. Just..nah. Stick with dark meat.
Ok, but white meat is all I have, what do I do?
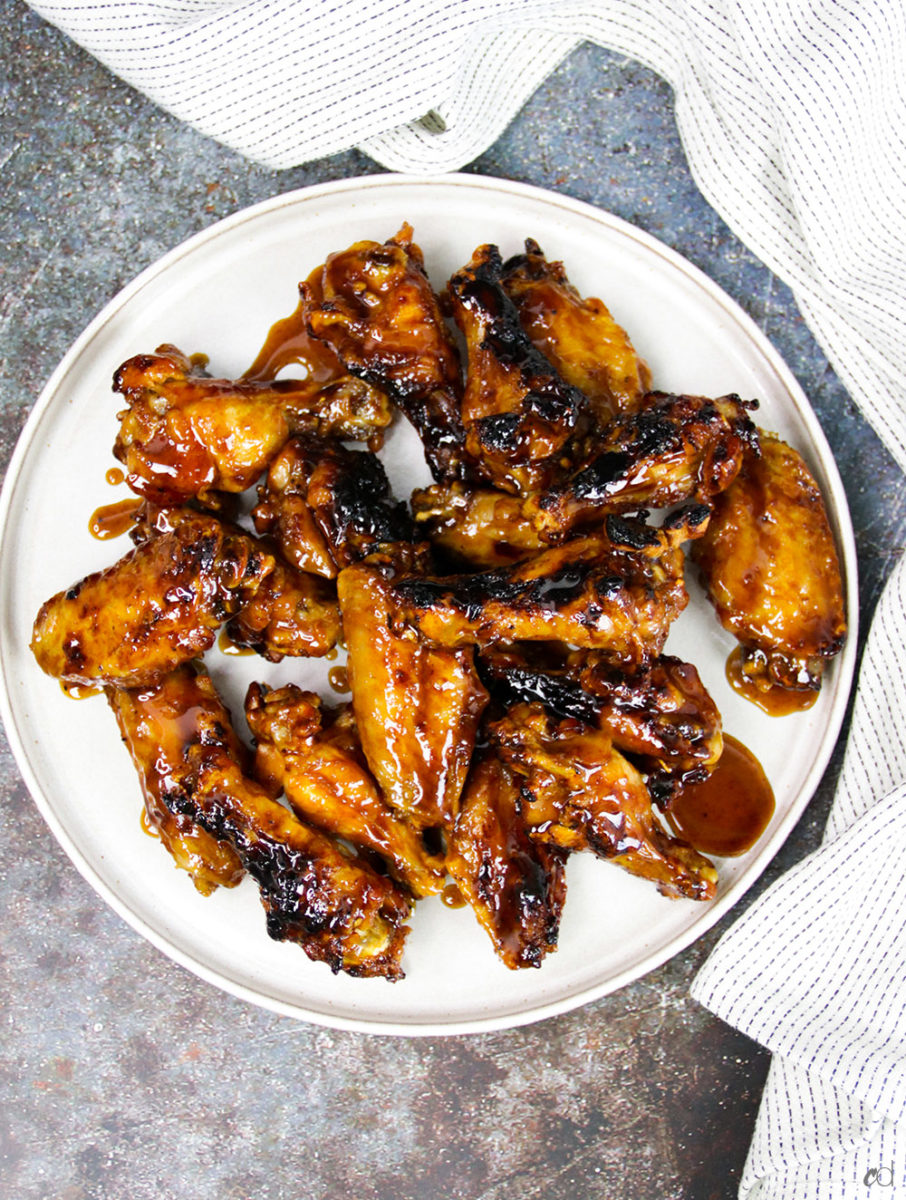
For this particular recipe, you could absolutely use white meat, but you’d need to adjust not only the cooking time, but your whole game plan. I would simply sear my chicken breasts on one side, and pour the sauce in as soon as I flip the chicken over and let it finish cooking that way. Less chance of it getting overcooked. Another method would be just to dump everything in a dish and bake it all, but you’d miss out on the delicious maillard of browning the chicken first, which lends a ton of much needed flavor. Simply put, it’s up to you. Now, with wings? Oh goodness! Prepare your wings however you’d like — bake, naked fry, roast, grill, whatever. Bring the liquid to a boil to reduce and thicken, then toss the wings in. That would be amazing.
The reason I chose to cook the chicken without the sauce for the first 15 minutes was because I wanted to give the chicken skin a chance to shrink and dry up just slightly. If you want to just pour the liquid in with the raw chicken and chuck the entire thing in the oven and say “To hell with that step”, I promise you can.
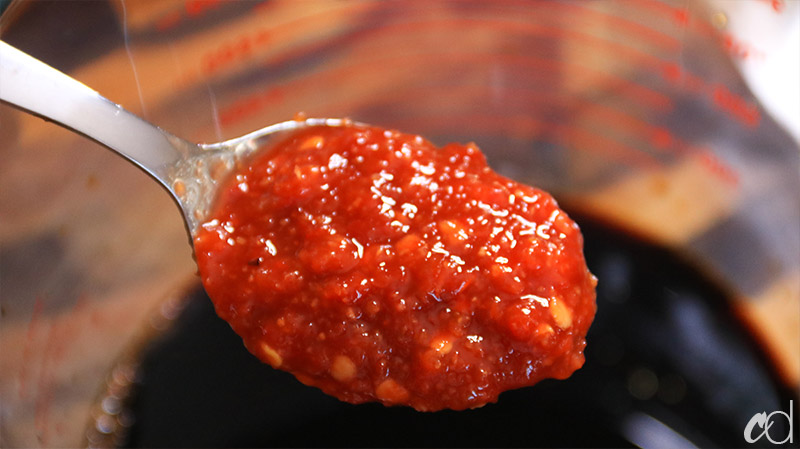
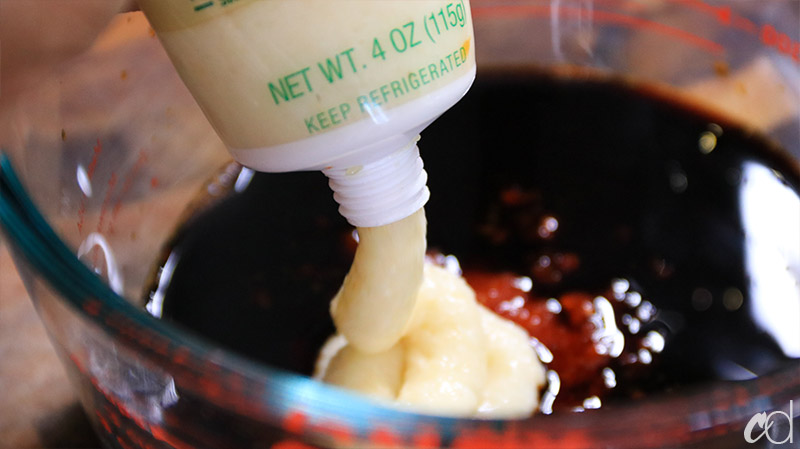
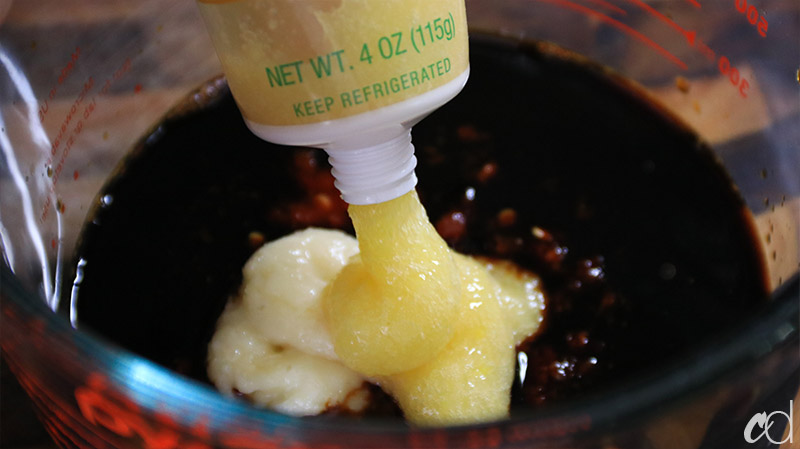
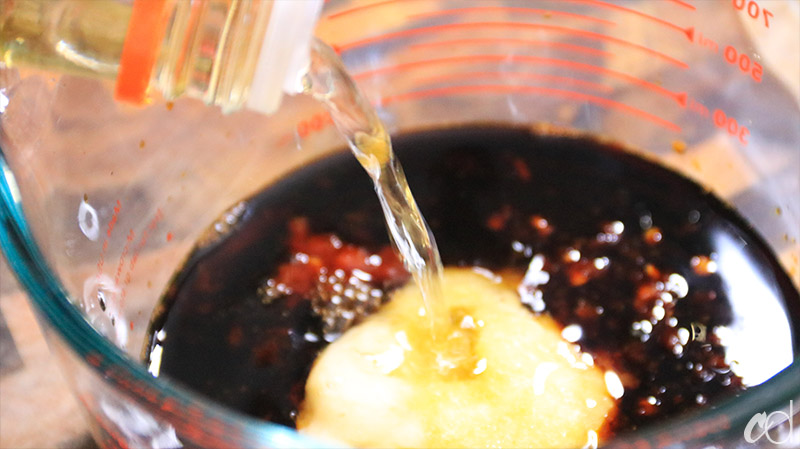
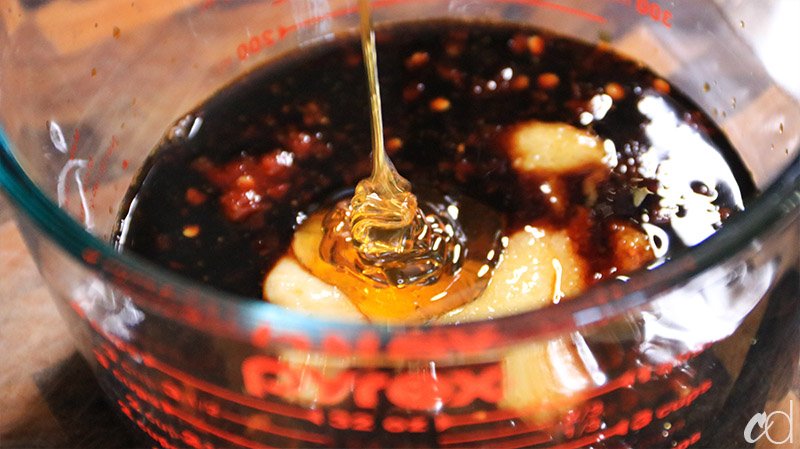
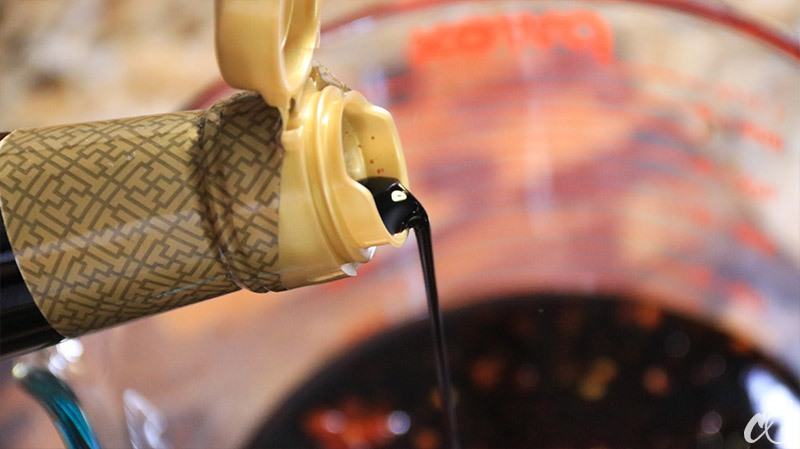
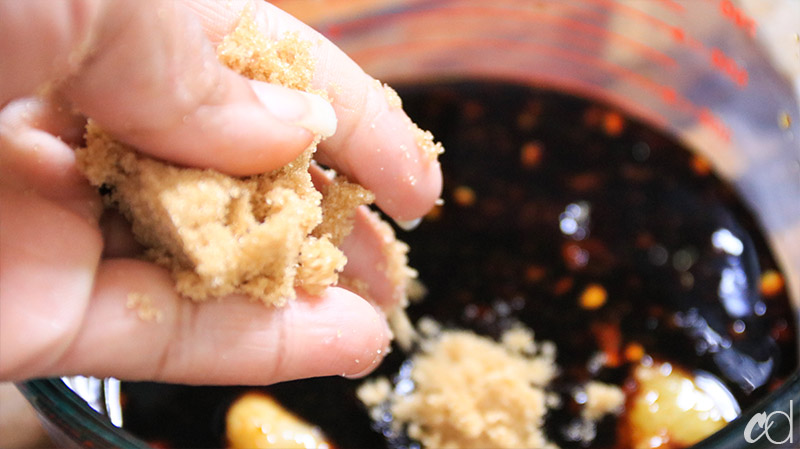
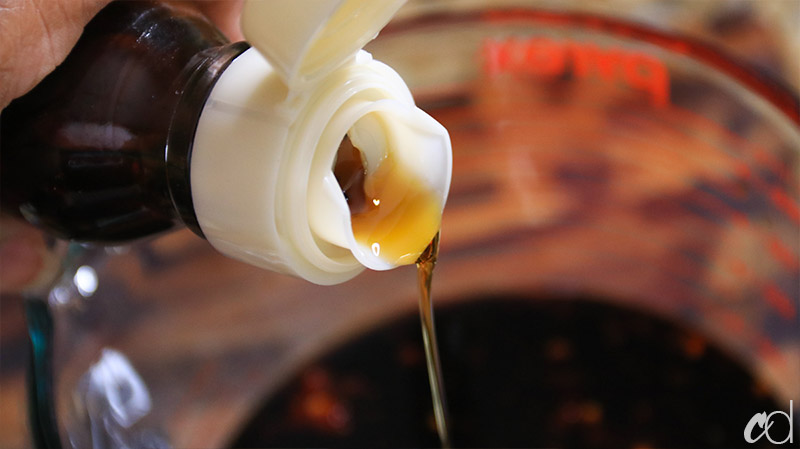
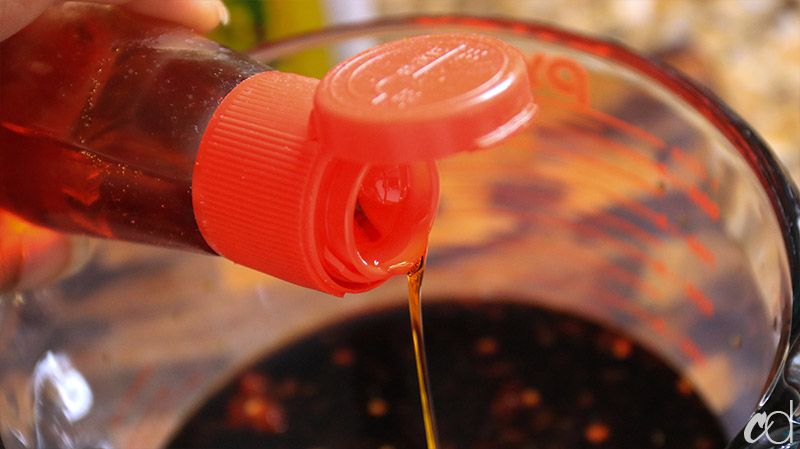
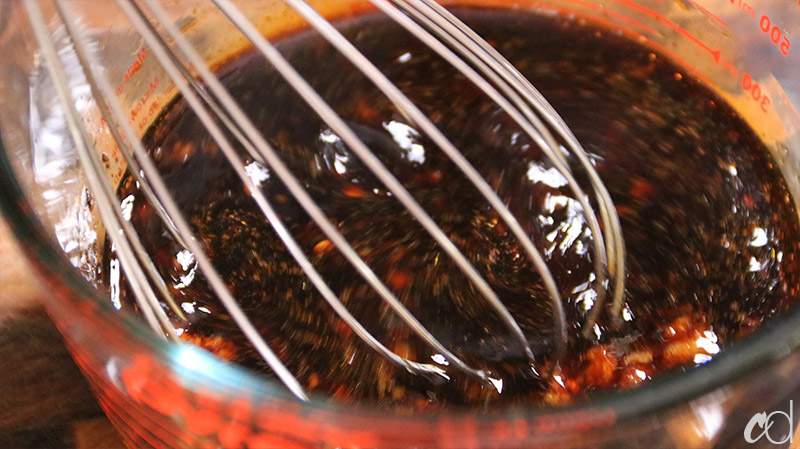
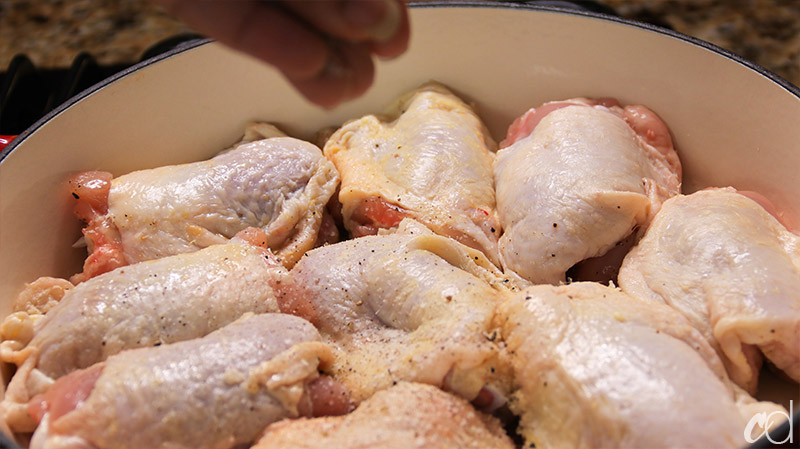
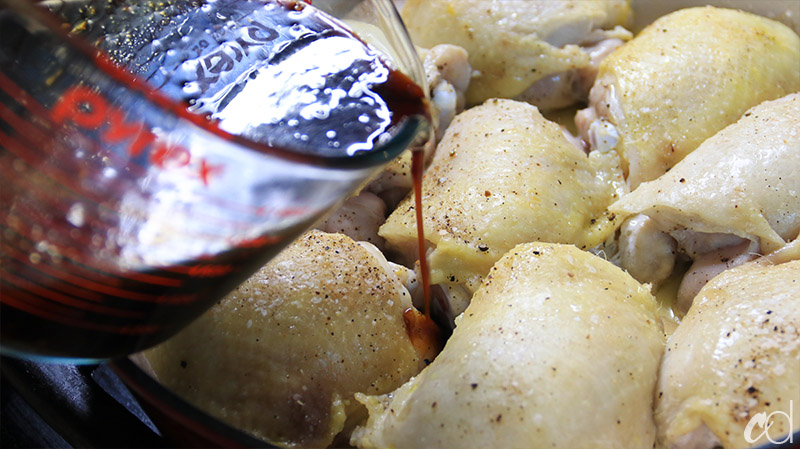
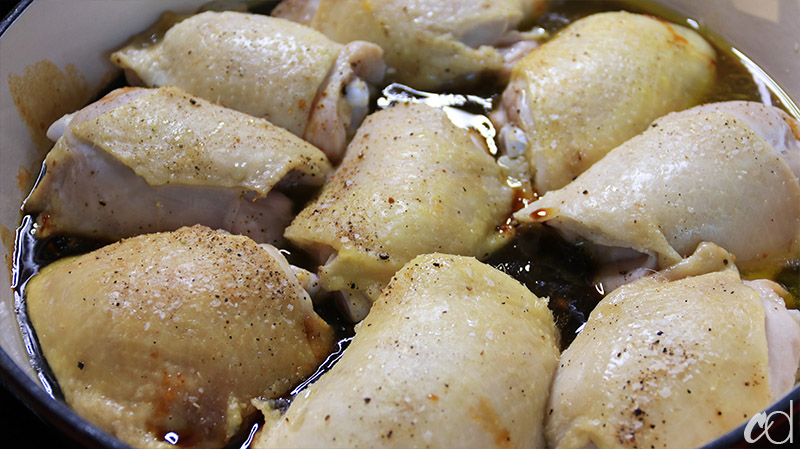
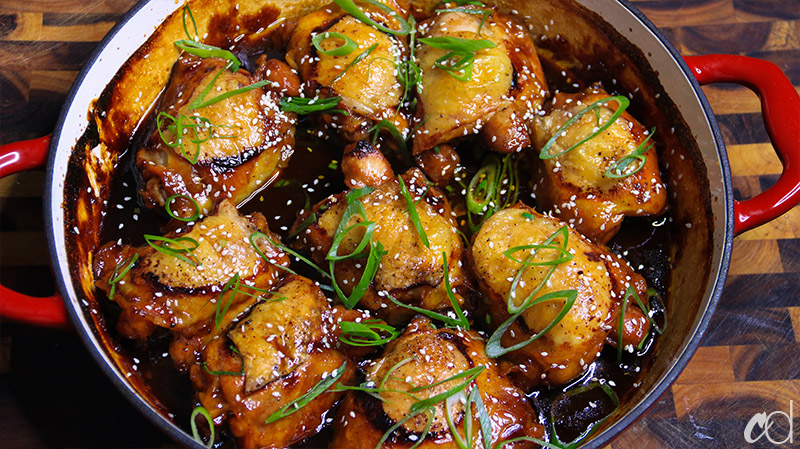
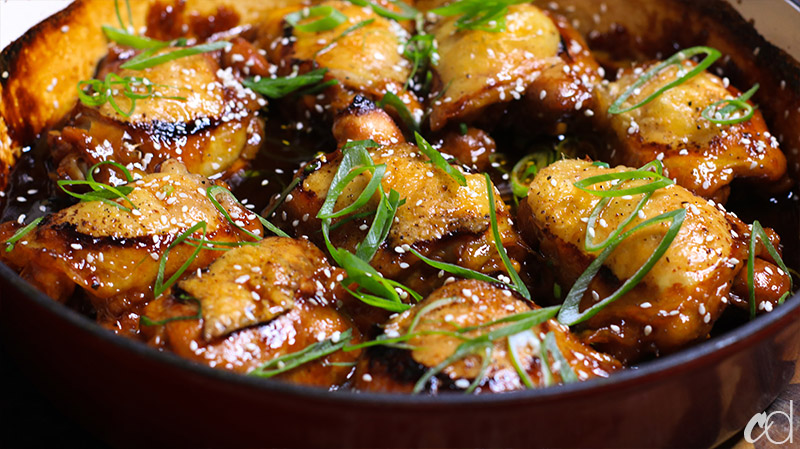
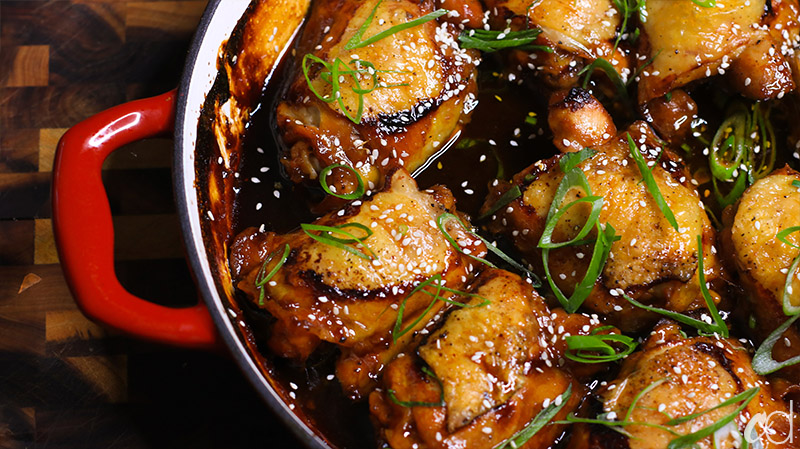
It’s extremely important that you keep tinkering with this sauce until its to your liking. I gave you starting point measurements, so please feel free to add more of something if you need to. We started with a fourth cup of brown sugar, and ended up adding another (damn near) half cup. That’s just me, though. It came out perfectly balanced. I had just a few tablespoons of sauce leftover, and I almost saved it, but I knew I had to stop being a sauce hoarder and just let it go. If you have any sauce leftover, by all means, save it! It would be good glazed over just about anything, especially vegetables.
Ginger Garlic and Soy Braised Chicken
- Total Time: 55 mins
- Yield: 4-6 servings 1x
Ingredients
- 8-10 chicken thighs, bone-in skin on
- 2/3 cup soy sauce (you can use low-sodium)
- 2 tablespoons garlic chili paste (Sambal)
- 2 tablespoons garlic paste (or grated garlic)
- 2 tablespoons ginger paste (or grated ginger)
- 1/4 cup rice wine vinegar
- 1/4 cup honey
- 1/4 cup brown sugar, *plus more if needed
- 1 tablespoon dark soy sauce (optional)
- 1 teaspoon toasted sesame oil
- 1 teaspoon chili oil (optional)
- kosher salt & black pepper
Garnish
- Scallions, thinly sliced
- Sesame seeds
- Lime wedges
Instructions
-
- Preheat oven to 400 degrees.
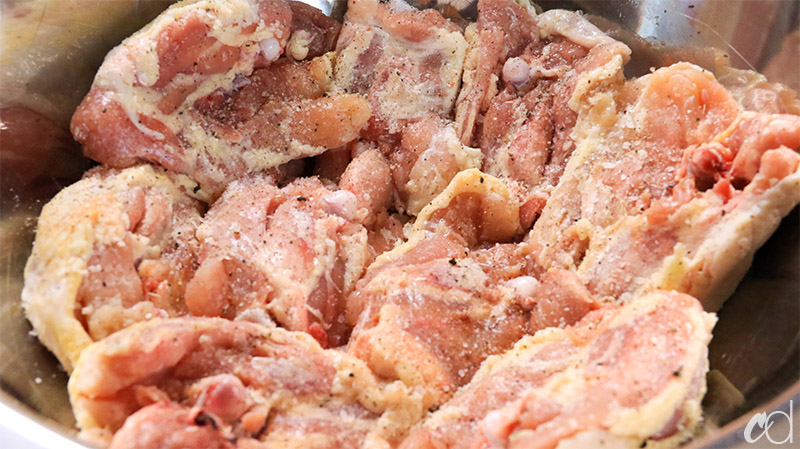
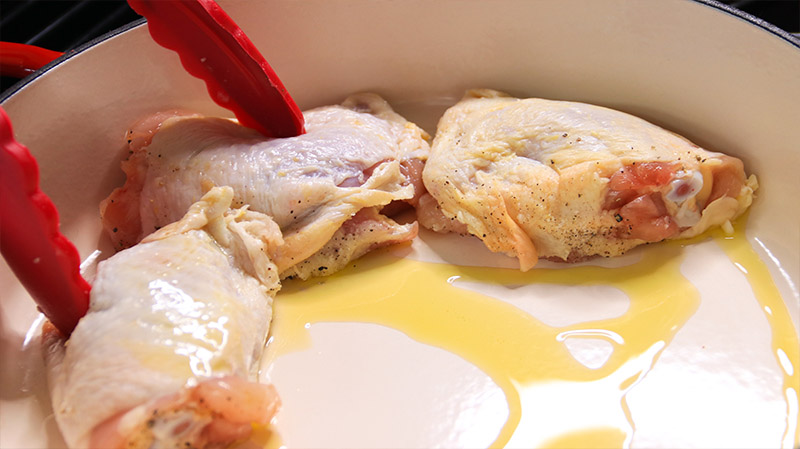
- Dry the skin of each thigh with paper towels and season the flesh side with salt and pepper. I can’t tell you how much to add here, because it depends if you’re using regular soy sauce or low sodium, as well as your personal preference. When in doubt, use a little less, because you can always add more at the end if needed. Pour 1 tablespoon of oil (olive, canola, or vegetable) in a large skillet or braising pan. Arrange the chicken so that there’s just a little space between them and they’re not crammed. Season the dried skin side with salt and pepper, set aside.
- In a large measuring cup or medium sized bowl, add the soy sauce, garlic chili paste (Sambal), garlic paste, ginger paste, rice wine vinegar, honey, brown sugar, dark soy sauce (if using), toasted sesame oil, and chili oil. Whisk until the sugar is dissolved. Taste this mixture. If you want it sweeter, add more brown sugar. If you want it spicier, add more Sambal or chili oil. When it’s perfectly balanced for your tastes, set aside.
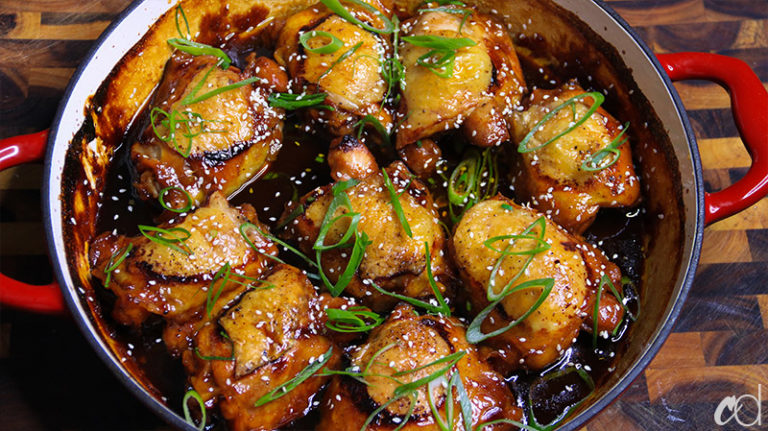
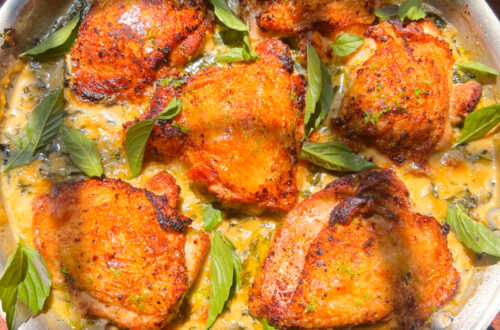
- Place the chicken in the oven and roast for 15 minutes. Remove, and pour in the soy braising liquid in until it goes up the sides of the chicken, but not too much — because this mixture boils in the oven and rises quite a bit. Please use my photo as a reference as to how much to put in. Pop it back in the oven and continue to cook until the internal temperature of the chicken registers 175 degrees on an instant-read thermometer, about 25-30 minutes longer. The sauce should be thickened slightly and sticky, but easily pourable.
- Serve over fluffy rice and garnish with scallions and sesame seeds. Squeeze with fresh lime to really set the flavors off. Enjoy!
- Prep Time: 15 mins
- Cook Time: 40 mins


Hey Resha!
I am vegan, and interested in just making the sauce to put atop my vegan “chik’n” breasts. Can I simply make the sauce on the stove instead?
u sure could. but make sure you reduce it long enough to become “saucy”, or the consistency you want.
Making it now and trusting that it’s going to be the bombiees…
Me and my wife loved this recipe. Going to go through this amazing site now and indulge.
I’ve tried this recipe (more than once) and my fam loves it. Thank you Chef R.
This recipe deserves 10/5 stars. This is crazy, INSANELY good.
Don’t have dark soy… which I know is optional. Could I use fish sauce instead or should I just leave out altogether?
Fantastic! My husband loves this we normally do it with chicken breast or chicken strips. I have to be honest I almost didn’t make this dish because I wasn’t sure if i had any oven safe pans. I took a chance and I’m glad I did. I think people are scared away by recipes if they think they dont have what they need. I’ve made this over 7 timees i dont need the recipe at this point, but I am curious at the beginning are you supposed to sear the chicken with the olive oil? I sear both sides of the chicken then put it in the oven. Is there a way to just make this with a baking pan?
Made this with legs and still came out delicious!
Excellent recipe the taste is crazy good. I made double the amount of braising liquid can it be used for braise beef.