I originally posted this recipe for the easiest no-knead artisan bread on my Youtube channel, but decided it should absolutely be available here as well. Listen, this is one of the easiest recipes ever created. There are tons of variations available online, and I want to be the first to let you know that this recipe is also amazing for making 8 slider-sized rolls. It’s very versatile, as many different flour combinations can be used — whole wheat, all-purpose, bread flour, whatever rocks your boat. Just know that any flour containing wheat/grain particles will not rise as much because the shards of wheat tend to slide the gluten at the knees, causing it to be less puffy. It will still be very delicious though!
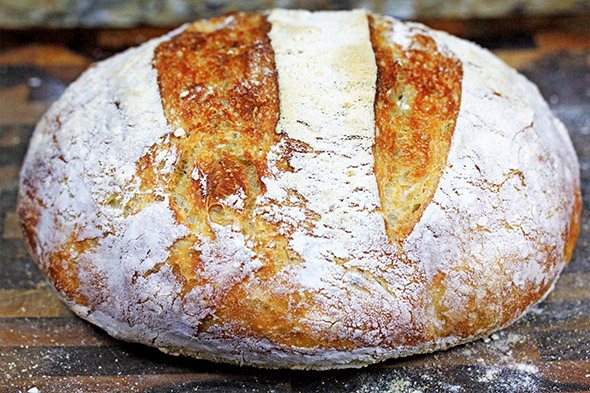
The originator of this incredibly simple recipe says that it’s so easy a 6 year old could make it. That is the truth-ruth! You literally mix flour, yeast, and salt with water…mix it around until it’s all absorbed…and let it proof for 12-18 hours overnight. The next day, you gently combine it into a ball — with plenty of extra flour as it’s a very wet and sticky dough, and then let it rest while you heat your oven. Bake it, and boom. You’ve got incredible fresh bread with zero effort. Don’t believe me? Watch the video tutorial 🙂
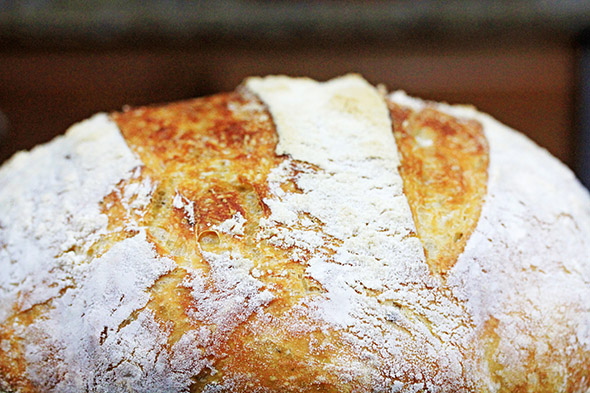
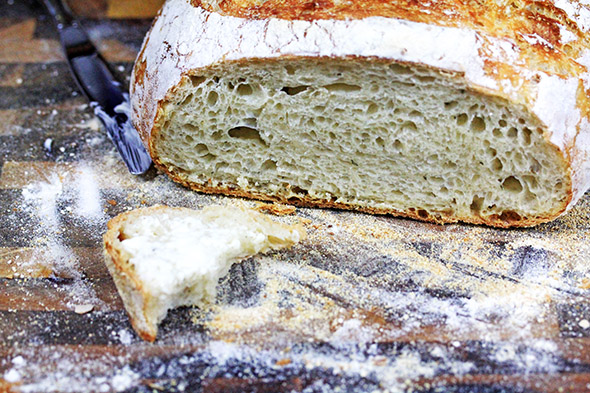
Why use a dutch oven? Ok, so…it’s like this. In order for bread to develop that incredible crust as it bakes, it needs steam. Professional bakeries use ovens that release steam during the baking process to help create that signature crust. Home ovens don’t have steam injectors, so we have to improvise. You could spray water every few seconds during the first 10 minutes of bread baking to kinda achieve that — OR — you can trap the steam inside of your dutch oven as the bread bakes. Dutch ovens are like little mini-ovens that trap lots of heat and steam and basically turn into small bread-baking saviors.
“But, I don’t have a dutch oven!” – you.
It’s ok, this bread will still bake on a regular baking sheet, and turn out just as delicious. You’ll get a nice crust, but it won’t be as crusty if you used a dutch oven. Honestly though, who cares, when you have such an amazing, fool-proof recipe that is guaranteed to change your culinary life. Just make the damn bread anyway.
I’ve made this bread many times, using either all-purpose flour, or bread flour. Both are amazing, but I’ll give bread flour the slight edge. It doesn’t matter though, you’ll be happy with whatever you choose to go with.
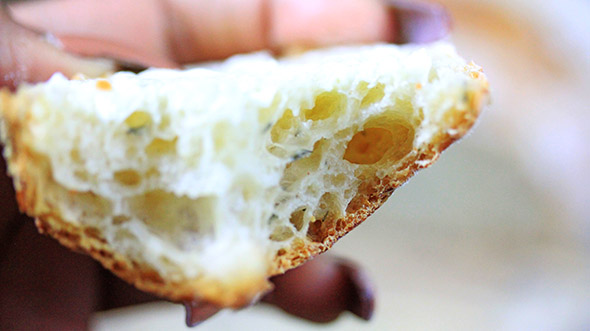
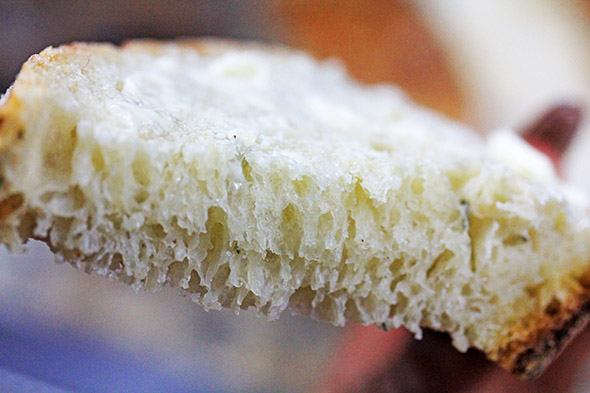
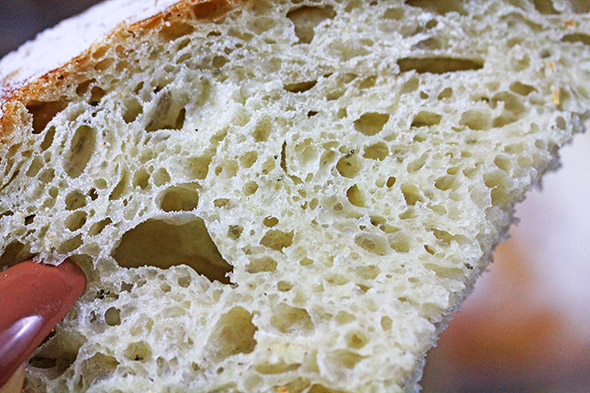
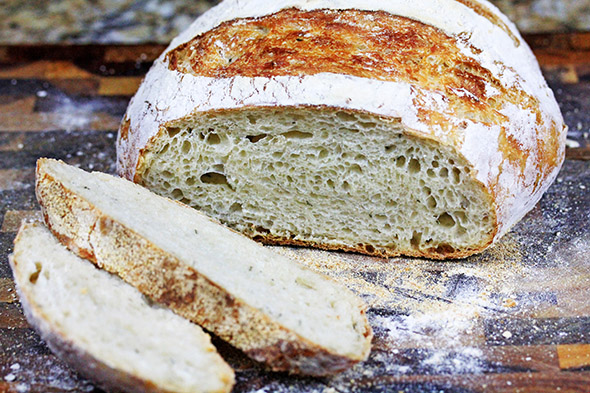
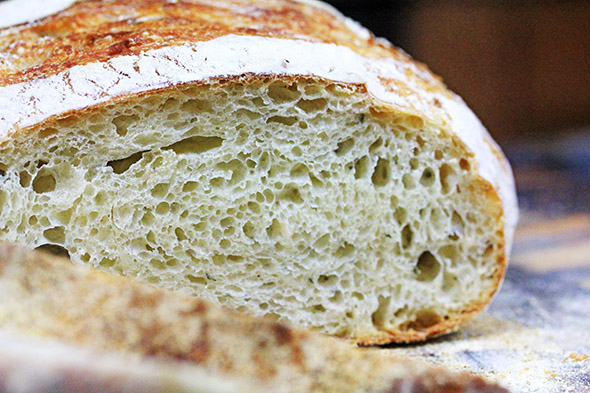
Look at that crumb! Perfect vehicle for lots of creamy butter 😛
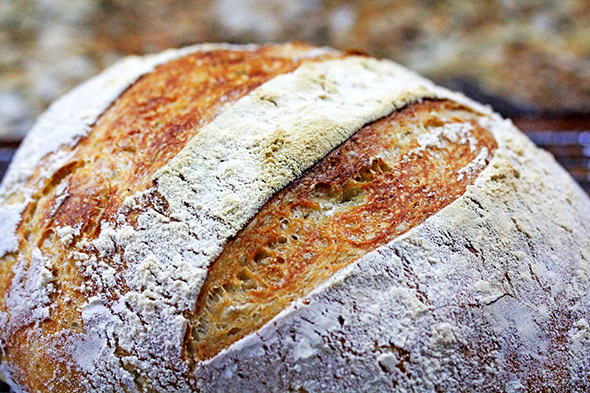
You can totally make this bread! It’s worth it, and best of all, you know exactly what’s in it.
Crusty No-Knead Artisan Bread
- Total Time: 12 hours 30 mins
- Yield: 1 large loaf
Description
adapted from Jim Lahey
Ingredients
- 3 cups all-purpose, or bread flour *see note below*
- 1 1/2 cups warm water (90-110 degrees F)
- 1/4 tsp instant or rapid-rise yeast
- 2 tsp kosher salt (or 1 1/2 tsp table salt)
Instructions
- Mix dry ingredients until combined. Add warm water and mix until flour mixture is absorbed by water. Dough will be wet and sticky. Cover with plastic wrap and store at room-temp or a turned off oven for 12-18 hours, and up to 24.
- Two hours before you’re ready to bake, gently pull dough out of bowl onto a heavily floured surface, being careful not to puncture too many air bubbles. Gently form into a ball. Place dough on top of cornmeal covered parchment paper and cover with a clean, floured kitchen towel for 2 hours. During the last 30 minutes of those 2 hours, pre-heat your oven and empty dutch oven to 450 degrees. Let it sit in there the entire 30 minutes. When it’s super hot, transfer the parchment/dough into the dutch oven, cover and bake for 30 minutes with the lid on. Remove lid after 30 minutes and bake an additional 5-15 minutes, or until bread registers 200 degrees on an instant read thermometer. Immediately remove bread from the hot dutch oven and let cool on a wire-rack for at least 30 minutes before slicing.
Notes
This is a wet dough. However, depending on the humidity in your situation, you may need a little more water or flour to help the dough come together. If your dough is unreasonably wet, add more flour. If there are lots of dried flour pockets, add a little more water. There is room for error in this recipe. I usually have to add up to 1/2 cup more water if I’m using bread flour because it is much denser and heavier than regular all-purpose. Play it by ear and go with your instincts. You can do this!
- Prep Time: 12 hours
- Cook Time: 30 mins


My bread got burned on the bottom crust! I think my oven is off on temp. What do you think? Also, I don’t think I let my Dutch oven warm up long enough!
That has happened to me before, my oven was too hot. Try using a slightly lower temperature OR use a few layers of parchment paper on the bottom of your dutch oven.
Ah-I see what happened here. I doubled the recipe using the 2X tab and it doubled the water temperature too-not sure there would be a fix for that but still worth noting for newbies!
Hello!
I’m wondering if it’s possible to correct the water temperature note in your original recipe? It says warm water, but then gives a temp range of 180°-220°, which is basically near(and over) boiling water. I’m a good cook, but as a novice bread baker, it didn’t make sense, so I looked in the notes where you say a range of 90°-110°. I think a lot of people might be making the mistake of killing yeast with boiling water.
Wow I didn’t even noticed it scaled the temperature as well. I really don’t like that Scaling feature, and I’m not sure if I can disable it. It’s caused some problems with other recipes. Thanks for pointing that out!
Can you use dry active yeast and would you do the same amount? Thanks!
yup!
The best bread I ever had. Easy to make. i was so proud I screamed ?
★★★★★
Amazing
★★★★★
I started learning about artisan bread with this recipe. Unbelievable how easy and encouraging it was to make this.
Hi, I’ve made this so many times now, but always with general purpose flour. I decided to give it a go with bread flour with seeds. But as you mentioned it didn’t rise as well, and was very chewy. Would using more yeast help ?
What kind of seeds did you use? Also, did you let it cool completely before slicing?
Great recipe, easy to follow and delicious bread, I’ll be making this more often, it was a big hit with my family, thank you for sharing ?
★★★★★
Going to try this bread tonight. You mention warm water., what’s the temperature of the water.. I am using a thermometer. God knows how many bread recipes I ruined , not using the right temperature.
90 to 110 degrees F
I tried the recipe and baked wonderful bread. It works and is easy.
Just Discovered You!
I am trying this bread tonight. I have done others with varying success (mostly great). Will let you know how it comes out. I adore your youtube tutorials and will start trying your recipes.
I’ve heard that you can just put an oven-proof dish of water in the oven with the bread to create steam. I’ve tried this to very good results with this recipe.
This bread is amazing ! Its got the chewy, the crusty and the taste you would expect. Plus its simple! Only thing I did different was instead of forming a ball I did the fold method. Gently folding the dough over onto itself giving it more pockets of air inside (this adds to the rustic look also) .
I have a small enamel wook and I am wondering if I can use that to bake the bread?
did you mean wok? if so, as long as it’s oven proof to 450 degrees, i don’t see why not!
I was so excited when I woke this morning so I could cook the bread. Followed the instructions only to find after allowed the bread to cool, I lost the crunchy exterior, which I had when it came out of the oven. Please help where did I go wrong.?
what kind of flour did you use, and did you use a dutch oven? any bread will soften after a while, but it regains its crisp once its toasted again.
HI Resha,
/
I dont have the Dutch Oven, may I use the Vision cookingware pot instead of Dutch Oven? And after 30mins in the oven, you said that removing the lid and then decrease the temp to 200 for around 5-15 mins, right?
One more thing, all temperature here is Fareinheit, not Celcius?
Thanks lot
Tam Dang
You can use anything you have, even a baking sheet. The purpose of the dutch oven is to capture steam so give the bread that signature artisanal crust, and to help keep the shape — but if you don’t mind that not being a factor, it doesn’t matter you bake it. Remove the lid after 30 minutes, helps the bread brown more and the internal temp should be around 190-200 degrees, its okay if its a little over. Time for this to happen depends on your oven, mine takes about 10 minutes but some ovens may take up to 20minutes. All temperatures are in Fahrenheit.
Hi Resha, this looks AMAZING!
I have a question (it may be a very silly question sorry!) I have a Dutch Oven but it’s the oval-shaped and not the round kind, do you think it may be a problem? Do you think the bread will be too “flat” as the dough may “overflow” to follow the shape of the Dutch oven?)
Thank you in advance!
Hi there, the shape of your dutch oven won’t be an issue. But how deep is the dutch oven?
Hi Resha, sorry I just saw this, thanks for the reply…I made it and it was wonderful! Thank you! One thing I would like to ask, how much chopped Rosemary & Thyme and Garlic Powder should I add…?
I added some but don’t think it gave enough flavours of the Herbs & Garlic…it still tasted fantastic though!
And I am not sure exactly how deep is this Dutch Oven, but it is a 31 CM Le Creuset Oval Dutch Oven…? Anyways it turned out beautiful! ?
The pic is on my Instagram Account (the only thing is that my knife is not sharp enough I guess, so scoring it was a bit of a problem and it looked abit weird cause the scoring was not very defined)
Use a razor blade if your knife isn’t sharp enough. Add more herbs and spices if you didn’t get the flavor you wanted. If you want a ball shape, put some balled foil to fill in the oval ends of your pot.I have been cooking, baking, puddling in the kitchen all over the world since I was 8 on wood burning stoves, warming C-rations on manifolds, and just doing.
hi resha, i had made this bread last weekend, it is fantastic, however there only one thing which annoying me, my bread actually stick on the parchment paper. i did put corn meal on it, but why still come out like this. pls help, because i really like your recipe a lots. i will definitely will make another one later.
Hi there, the bread shouldn’t stick to the parchment too bad, depending on any wrinkles or crevices on the bottom, they should still be relatively easy to tear off. However, if it’s actually sticking to a flat surface, the dutch oven may not be hot enough during the preheating.
MAKE THIS BREAD!!!! So good!!!
I’m going to try this recipe this weekend! If I want to make the 8 slider buns or two smaller loaves would I need to adjust the cooking time?
This recipe is so easy and the bread turned out fantastic. We are now experimenting with adding various spices and herbs, Thanks for a great recipe. And your video on utube is great.
I have roasted off several cloves of garlic that I have then mashed well and pureed in to my liquid. I also add fresh finely chopped rosemary, basil, sage and thyme and put it in at same time. So, so , so delicious. Love this recipe. ???
★★★★★